DIY Self-Watering Containers: Your Complete Guide
Contents
For many of us, gardening can be a balancing act between nurturing our plants and managing our busy lives. You might find yourself rushing home to water your indoor herbs or succulents, only to discover they’ve wilted in your absence. If this sounds familiar, self-watering containers could be your solution. These ingenious designs not only keep your plants hydrated but also minimize the time and effort you spend on maintenance.
This article will equip you with everything you need to know about self-watering containers. You’ll learn the benefits of using them, how to make your own DIY versions, and what commercial options are available. After reading, you’ll confidently tackle your gardening with a self-watering approach.

Fielda
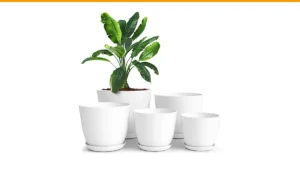
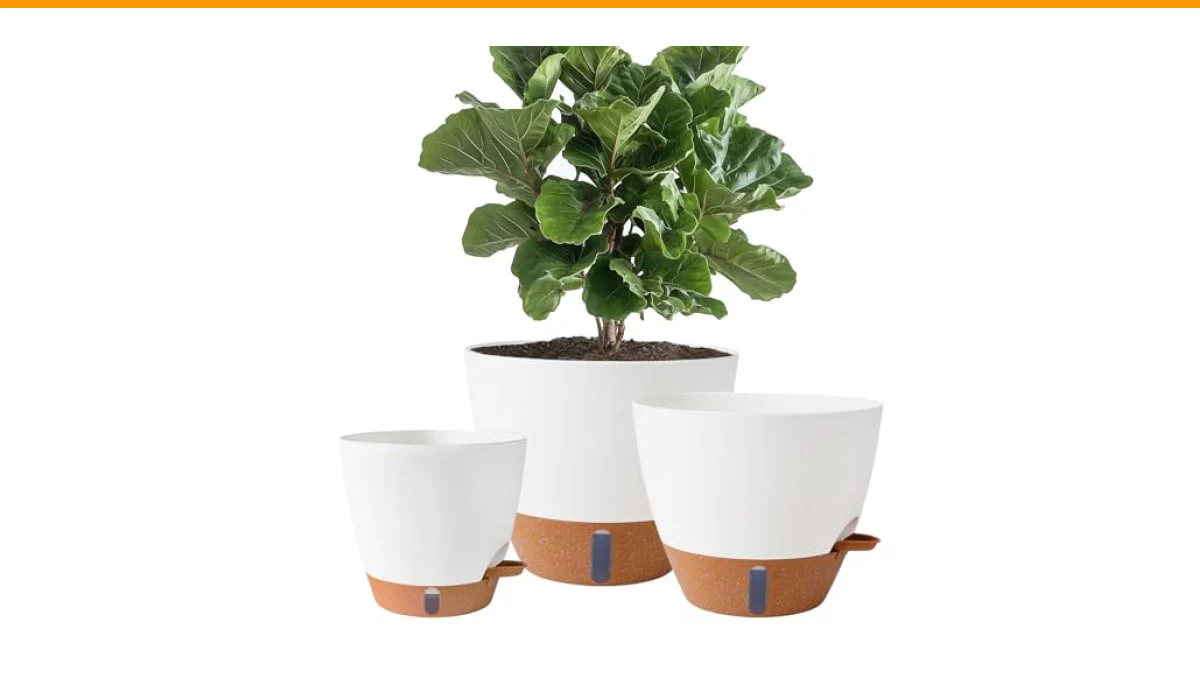
Fielda 8/10/12 Inch Self Watering Pots for Indoor/Outdoor Plants
- 🌿 【Self-Watering Pots with Water Level Indicator】 Designed for busy plant lovers, our 8/10/12 self-watering pots feature a built-i…
- 💧【Planters with Drainage & Detachable Trays】 Each plastic plant pot includes a REMOVABLE SAUCER TRAY and strategic DRAINAGE HOLES…
- 🛡【Durable Plastic Construction】Crafted from premium HIGH-TEMPERATURE-RESISTANT PLASTIC, these lightweight yet sturdy self-watering…
One highly recommended product in this category is the Fielda 8/10/12 Inch Self Watering Pots. These containers feature an absorbent cotton wick system and a transparent water level indicator, making them perfect for busy plant lovers. They keep soil evenly moist for up to 7-10 days, which is ideal for those hectic schedules or vacations.
Understanding Self-Watering Containers
Self-watering containers are designed to provide a consistent water supply to plants through a reservoir system. Water is drawn up from the reservoir via a wick or capillary action, ensuring that the soil remains moist without the risk of overwatering. This method is beneficial for several reasons:
- Reduced Watering Frequency: You can go longer between waterings, which is ideal for busy individuals.
- Healthy Root Development: Roots stay hydrated and can access nutrients more effectively.
- Less Wasted Water: Self-watering systems use water more efficiently compared to traditional pots.
DIY Methods for Creating Self-Watering Containers
Making your own self-watering container is straightforward and can be done with materials you might already have at home. Here are three popular methods:
Method 1: The Two-Pot System
- Choose two pots: One should be slightly larger than the other.
- Drill holes in the bottom of the smaller pot; these will allow water to seep through.
- Fill the larger pot with water and place the smaller pot inside, ensuring it sits above the water level.
- Add soil to the smaller pot and plant your desired seeds or seedlings.
Method 2: The Wick System
- Use a plastic container with a lid. Cut a hole in the lid for a wick (cotton rope works well).
- Fill the container with water, leaving enough space for the wick to soak.
- Place the wick in the water and through a hole in the lid, ensuring it reaches the soil in the pot above.
- Plant your seeds or seedlings in the top pot.
Method 3: The Bottle Method
- Take a plastic bottle and cut it in half. Keep the top half with the cap.
- Invert the top half into the bottom half, creating a reservoir.
- Fill the bottom half with water and add soil to the top half.
- Plant your seeds in the top and fill the reservoir with water as needed.
Comparing DIY Self-Watering Methods
| Method | Materials Needed | Water Retention | Ease of Setup |
|---|---|---|---|
| Two-Pot System | Two pots | Moderate | Easy |
| Wick System | Container, wick | High | Moderate |
| Bottle Method | Plastic bottle | Variable | Very Easy |
Common Misconceptions About Self-Watering Containers
Myth 1: Self-Watering Containers Are Only for Beginners
Many believe self-watering containers are just for novice gardeners. This isn’t true. Even experienced gardeners benefit from them. They allow for more consistent moisture levels, which can enhance plant health and productivity.
Myth 2: All Self-Watering Containers Are the Same
Not all self-watering systems operate identically. Some rely on a reservoir, while others use wicks. The choice depends on the type of plants and their specific watering needs. For instance, larger plants may benefit from a more substantial reservoir.
Frequently Asked Questions
1. How often should I fill the reservoir in a self-watering container?
The frequency depends on the size of the container and the type of plants. Generally, check the water level every week. In hot weather, you may need to refill more often.
2. Can I use self-watering containers for all types of plants?
Most plants thrive in self-watering containers, but some prefer drier conditions. Make sure to choose the right plants, especially if they are sensitive to moisture levels.
3. Do self-watering containers help with nutrient delivery?
Yes, they do. With consistent moisture, nutrients are more readily available to the plants. Fertilizers can also be mixed into the reservoir for gradual feeding.
4. Can I use DIY methods for vegetables?
Absolutely. Many gardeners successfully grow vegetables in DIY self-watering containers. Just ensure they have enough space for root growth and proper drainage.
5. How do I clean self-watering containers?
Regular cleaning is essential. Remove old soil, wash the containers with mild soap, and rinse thoroughly before reusing. This helps prevent disease and pests.
Final Thoughts and Action Steps
- Consider your plant types when choosing a self-watering system.
- Try making a DIY self-watering container using the methods discussed.
- Monitor water levels regularly to ensure optimal moisture.
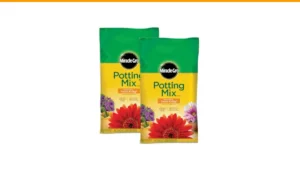
- Use quality potting soil to enhance drainage and aeration.
- Experiment with different container designs to find what works best for you.
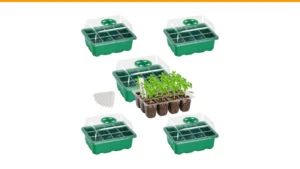
- Check out self-watering seed starter options for starting plants indoors.
- Explore additional resources like DIY self-watering planter guides for more inspiration.